
While the pattern provided the basic look I was going for, I felt like it was severely lacking in the "panache" department. I used the pieces provided to get the bulk of the garment, but the collar was, well, absent. I felt like it needed just a little jazzing up. I also ran into some problems with the size of the pattern pieces vs. my fabric.
Here is a guide to the departures I made from the pattern and pattern instructions:

In my opinion, the sleeve pattern piece was unnecessarily wide at the top, especially for the view that I was making. After folding my fabric in half, I was still short on the top-sleeve width by about 3 inches, so I wasn't even able to fudge it to make it work. Instead, I decided to separate the pattern at the line described as the "placement line" for the over-sleeve piece.

To do this, mark the pattern 1/2" above the placement line and cut along the marked edge
You then have 2 pieces of tissue: You will cut the bottom piece from your PRIMARY fabric.
 |
| cut sleeve pattern into 2 pieces |
You will cut the top piece from a secondary piece of fabric. This can be in any color, but I would use the same color fabric that you will use for your over-sleeve piece. Since my over-sleeve was of black satin, I used a black cotton bottomweight fabric for this top-half sleeve piece. IMPORTANT: You must add 1/2" along the bottom edge when you cut out the top piece of the sleeve, to make up for the seam allowance you have created a need for by cutting the pattern piece in the middle.
 |
| 1/2" seam allowance shown at bottom |
Once you have cut your pieces from the appropriate fabrics, attach them, right sides together, to each other along the line you created, using a 1/2" seam allowance.
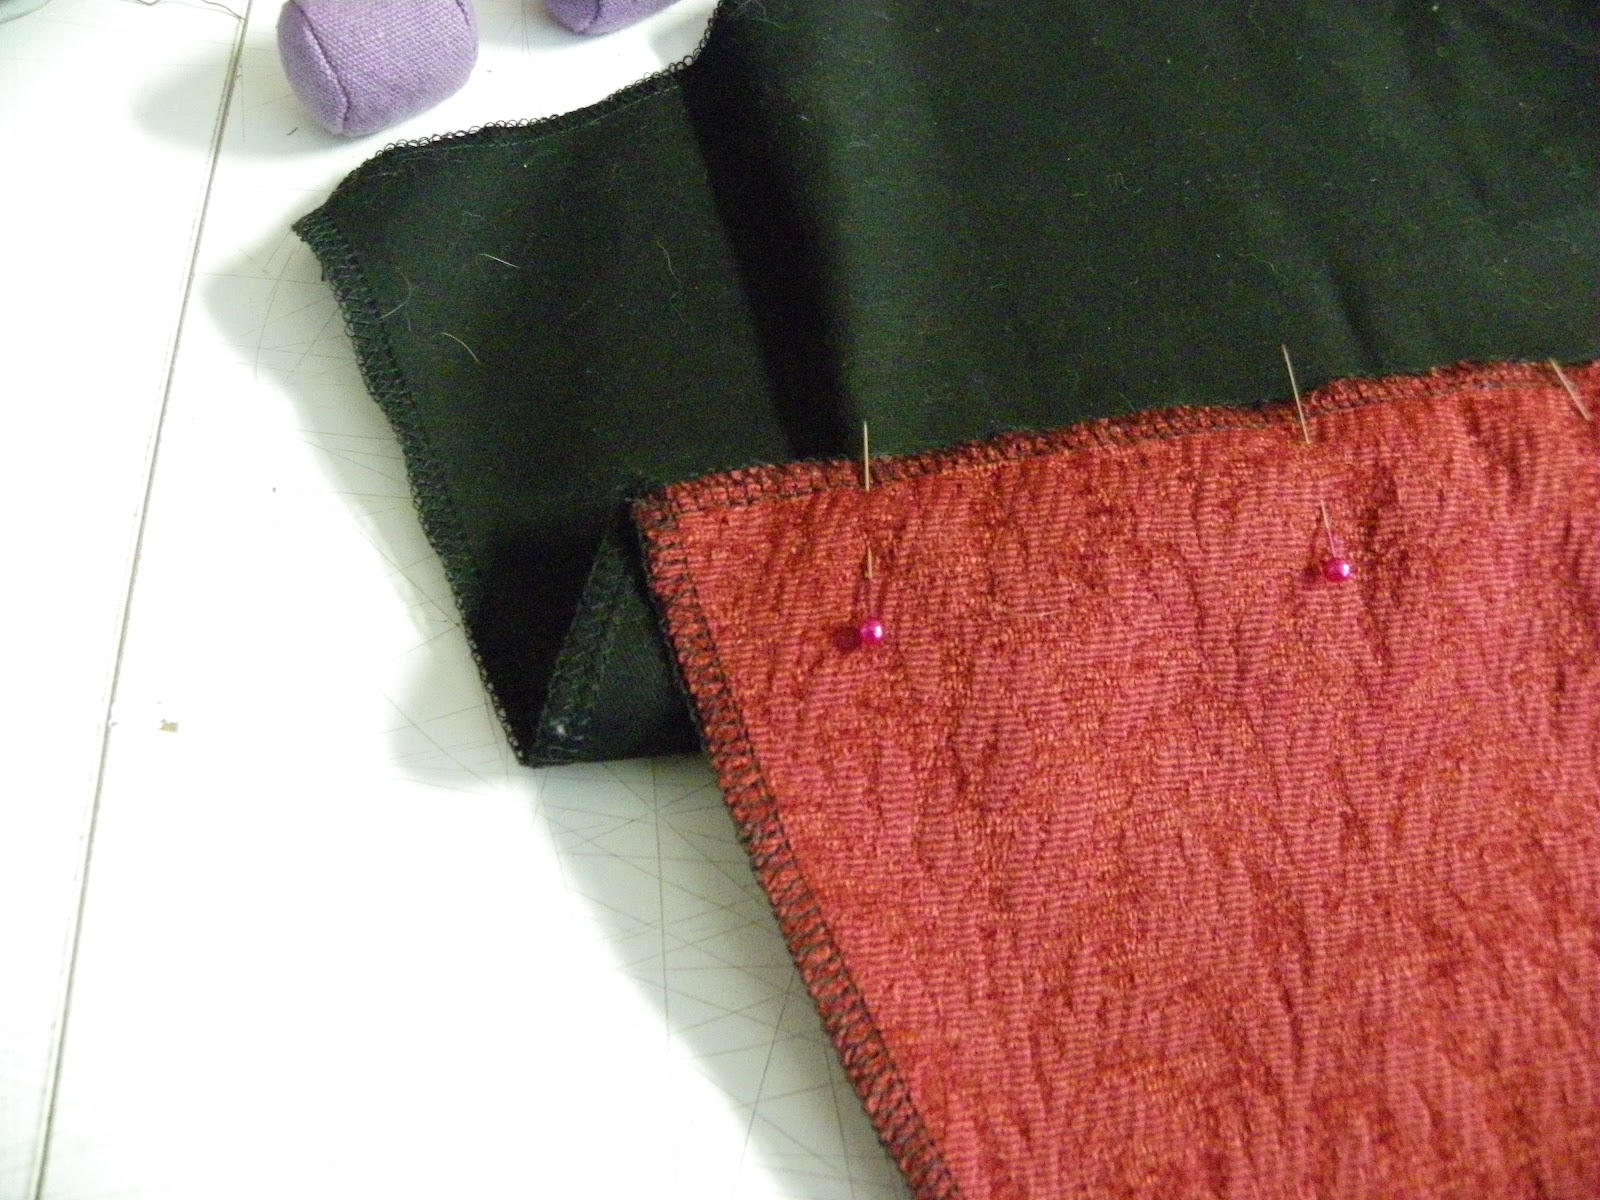 |
| Pin right sides together & sew |
 |
| After stitching, press seams open |
That solved the problem of not having enough fabric for the top of the sleeve without having to sacrifice any of the sleeve width at the top and shrinking the armscye. Now, having done it, if I ever need to sew this pattern again, I will probably just slim down the top of the sleeve and adjust the armscye accordingly. I didn't know how it would affect the rest of the sleeve if I did that the first time, so I just came up with this alternative way.
A couple of other things I did differently: I lined the over-sleeve section with lightweight fusible interfacing to give it some body. The satin I used just wanted to hang there, all limp and sad, so adding the interfacing helped it to look a little livelier. Also, due to time and budget constraints, I did not line the inside of the coat as I usually do. It's just as well, though, since it gets so hot here and I already had plans to use real fur trim.
I also wanted to spice up the collar of this coat because it was completely lacking any kind of collar whatsoever and looked rather incomplete and, frankly, cheap. I adapted the mandarin-style collar from McCall's 5214 Men and Boys King Costume, View A.
 Taking the "Front" and "Back" pattern pieces from both patterns, lay the coordinating pieces (lowest neckline underneath) on top of on another and place a piece of blank copy paper behind. line up shoulders and "fold" edges, then trace the higher collar outline onto the copy paper.
Remove the piece with the higher collar (5214), and tape the copy paper to your pattern piece from 5907. Cut along your traced lines.
 Use the Mandarin collar piece from 5214 and cut 2 of your primary fabric. To strengthen a fabric that has little body, again, a piece of lightweight fusible interfacing cut to shape would help you out there. Stitch the 2 collar pieces, right sides together, clip curves and turn right-side-out, pressing seams open. Attach to coat at neck, right sides together, on the outside of coat. On inside of coat, turn bottom edge under and whip stitch bottom edge to inside of coat neckline.
So, here is the finished product! The customer gave me a rabbit-fur coat purchased at a thrift store to use as trim instead of the prefabricated synthetic fur you can buy at the fabric store. It looked fantastic, but let me tell you, if you haven't worked with cutting fur before (real or fake), it is a MESS. Probably the equivalent of a dozen shedding Siberian Husky dogs (I just have the one, and that is bad enough). I had to open up the garage and cut it outside. The result is lovely, though. Worth the effort in the end.
Abby

